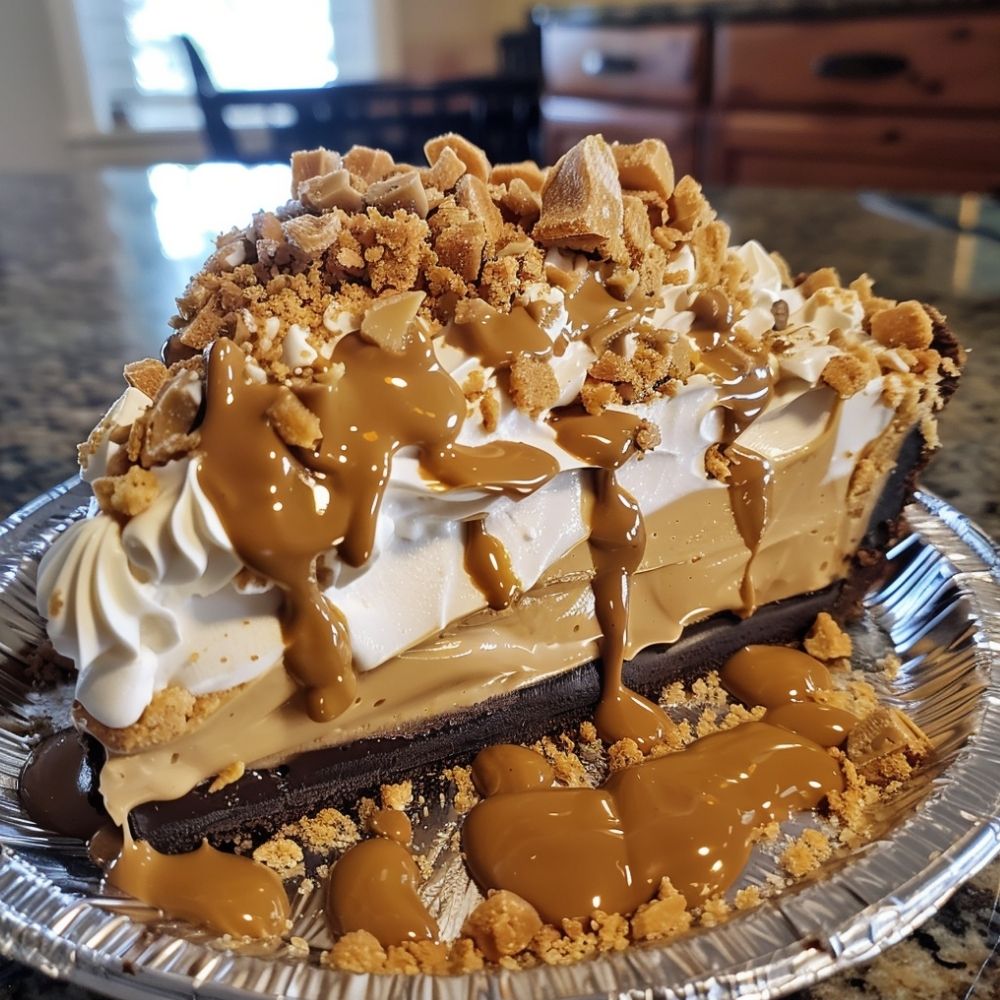
Amish Peanut Butter Cream Pie

There’s something magical about a slice of Amish Peanut Butter Cream Pie. Imagine smooth, creamy peanut butter filling with a crunchy chocolate crust, topped with whipped cream and a sprinkle of crushed graham cracker or cookie crumbles! If you love peanut butter, this pie will definitely hit the spot. It’s a delightful dessert that’s surprisingly easy to make but will taste like you spent hours in the kitchen. Ready to wow your taste buds and anyone you share this with? Let’s get started!
Ingredients
- 1 Chocolate Cookie Crust – The base layer of rich chocolate complements the peanut butter filling perfectly. You can use a store-bought crust or make your own with crushed chocolate cookies and melted butter.
- 1 1/2 cups Creamy Peanut Butter – The star of the show! Smooth peanut butter creates a rich and creamy filling. Make sure to use regular peanut butter rather than the natural kind for best texture.
- 1 cup Powdered Sugar – Adds just the right amount of sweetness without making the filling too grainy. Sift the sugar beforehand for a silky-smooth consistency.
- 8 oz Cream Cheese, softened – Cream cheese makes the filling incredibly smooth and gives it a slight tang, balancing out the sweetness.
- 1 1/2 cups Heavy Whipping Cream – Whipped to soft peaks, this will give the pie a light, airy texture. Be sure your cream is very cold before whipping.
- 1/2 cup Crushed Graham Crackers or Peanut Butter Cookies – A sprinkle on top for texture and flavor, adding a delightful crunch and extra peanut butter goodness.

Save it
How to Make Amish Peanut Butter Cream Pie
Step 1: Prepare the Chocolate Crust
Press a chocolate cookie crust into a pie dish or use a pre-made crust for convenience. Chill in the fridge while you make the filling so it stays firm.
Step 2: Make the Peanut Butter Filling
In a large mixing bowl, beat together the peanut butter, powdered sugar, and softened cream cheese until smooth and creamy. Make sure everything is well-combined and there are no lumps.
Step 3: Whip the Cream
In a separate bowl, whip the heavy cream to soft peaks. You want it to hold shape but still be fluffy. Carefully fold the whipped cream into the peanut butter mixture to keep the filling light and airy.
Step 4: Assemble the Pie
Pour the peanut butter filling into the prepared chocolate crust, spreading it out evenly with a spatula. Chill the pie in the refrigerator for at least 3 hours, or until the filling is set.
Step 5: Add Whipped Cream and Toppings
Once the pie has chilled and is set, add a generous layer of whipped cream on top. Sprinkle crushed graham crackers or peanut butter cookies over the whipped cream for a bit of crunch.
Step 6: Serve and Enjoy!
Slice up this creamy, dreamy pie and enjoy the sweet and salty goodness of peanut butter and chocolate in every bite.
Equipment Needed for This Recipe
- Pie Dish – A classic pie dish for assembling and chilling your pie.
- Electric Mixer – Great for mixing the filling to a smooth consistency.
- Mixing Bowls – A set of large and medium bowls will come in handy for the filling and whipped cream.
- Spatula – For spreading the peanut butter filling and whipped cream evenly.
Frequently Asked Questions
Can I use a different type of crust?
Absolutely! A graham cracker crust works wonderfully if you prefer it over chocolate. Both options taste delicious with the peanut butter filling.
Can I make this pie ahead of time?
Yes, this pie is perfect for making ahead. It actually tastes even better after a day in the fridge, as the flavors meld together.
How should I store leftover pie?
Store leftover pie in the refrigerator, covered with plastic wrap or in an airtight container. It should last 3-4 days, though it’s so good it might not last that long!
Can I use whipped topping instead of homemade whipped cream?
Yes, you can substitute with a whipped topping if you’re short on time. However, freshly whipped cream gives the pie a better flavor and texture.
What type of peanut butter works best?
Regular creamy peanut butter is ideal. Avoid natural peanut butter, as the oils can separate and affect the texture of the filling.
Is it possible to make this pie gluten-free?
Absolutely! Just use gluten-free cookies for the crust, and ensure any toppings you use are also gluten-free.
Can I freeze this pie?
Yes, you can freeze it, though the texture may be a bit different. Thaw in the fridge for a few hours before serving.
Conclusion
I hope this Amish Peanut Butter Cream Pie recipe brings a little extra sweetness to your day! It’s a crowd-pleaser that’s bound to disappear quickly. If you love it, don’t forget to share this recipe on Facebook or save it to Pinterest for later. Enjoy every creamy, peanut buttery bite!

Amish Peanut Butter Cream Pie
- Author: Emily Carter
- Prep Time: 20 minutes
- Cook Time: 3 hours
- Total Time: 3 hours 20 minutes
- Yield: 8 servings
Description
A dreamy peanut butter pie with a chocolate crust and a light whipped topping—this Amish Peanut Butter Cream Pie is smooth, creamy, and sure to satisfy your sweet tooth!
Ingredients
- 1 Chocolate Cookie Crust
- 1 1/2 cups Creamy Peanut Butter
- 1 cup Powdered Sugar
- 8 oz Cream Cheese, softened
- 1 1/2 cups Heavy Whipping Cream
- 1/2 cup Crushed Graham Crackers or Peanut Butter Cookies
Instructions
- Prepare the chocolate crust and chill it in the refrigerator.
- In a large bowl, mix peanut butter, powdered sugar, and cream cheese until smooth.
- In another bowl, whip the heavy cream to soft peaks and fold into the peanut butter mixture.
- Spread the filling in the crust and chill for at least 3 hours.
- Top with whipped cream and crushed graham crackers or cookies before serving.
Notes
- For best results, chill the pie for a full 3 hours or overnight to ensure a firm set.
- Use regular peanut butter for a smooth texture.
Save it for later
Save this recipe in your board for later use!

Save it

